How to Set Up Postgres on a Cloud VM
Let's walk through the process of setting up Postgres, a powerful open-source relational database, on a Linux-based cloud virtual machine (VM), and making it securely accessible from a web application running on the same virtual machine. Here are the steps we'll follow:
- Install and start Postgres
- Create a user and database
- Enforce password authentication
- Block external access
- Connect from a web app
- SSH from your local machine
Step 1 - Install and Start Postgres
Follow this tutorial to set up a cloud VM if you don't have one already. SSH into the VM and run the following command to install Postgres along with a bundle of optional extensions:
sudo apt update && sudo apt install -y postgresql postgresql-contrib
After installation, Postgres is registered as a systemd service that starts automatically on boot. Run this command to check status of the service (look for SUCCESS in the output):
sudo systemctl status postgresql
Next, run this command to execute a SQL query to display the version of Postgres installed:
sudo -u postgres psql -c "SELECT version();"
The above command uses psql, Postgres's terminal-based interface, to execute the SQL query SELECT version(); as the postgres user account, auto-created during installation.
NOTE: Postgres is installed with peer authentication by default i.e. connections from the same machine (as in the above command) do not require a password. We'll change this later.
Step 2 - Create a User and Database
Production apps should connect to Postgres through a dedicated account with limited privileges, instead of the postgres superuser. Run this to start psql in interactive mode:
sudo -u postgres psql
You'll see a postgres=# prompt to run SQL commands. Create a new user for your app:
CREATE USER myapp;
NOTE: Replace myapp above and hereafter with the name of your app e.g. horsetinder.
Run this command to set a password for the new user (the password will not be displayed):
\password myapp
TIP: Run openssl rand -base64 24 in a new terminal window to generate a strong password. Store the password securely using a password/secrets manager as you'll need it later.
Next, create a new database with the same name as the user, with the user as its owner:
CREATE DATABASE myapp OWNER myapp;
Grant the user full privileges on the database to create tables, insert rows, and run queries:
GRANT ALL PRIVILEGES ON DATABASE myapp TO myapp;
Finally, exit the interactive psql shell:
\q
Step 3 - Enforce Password Authentication
By default, Postgres allows local connections from the same machine without a password. This is unsafe as shell commands executed on the VM can read or modify the database.
Set a password for the postgres superuser so you can use it without peer authentication:
sudo -u postgres psql -c "\password postgres"
Run this command to edit the host-based authentication configuration file used by Postgres:
nano /etc/postgresql/*/main/pg_hba.conf
Find these lines which enable peer-based authentication for local connections:
# Database administrative login by Unix domain socket
local   all             postgres                                peer
# TYPE  DATABASE        USER            ADDRESS                 METHOD
# "local" is for Unix domain socket connections only
local   all             all                                     peer
Change peer to scram-sha-256, then save the file with Ctrl+o, and exit with Ctrl+x.
Restart the Postgres system service to apply the changes:
sudo systemctl restart postgresql
The following command will no longer work without a password (press Ctrl+c to exit):
sudo -u postgres psql
Step 4 - Block External Access
Let us further restrict our Postgres database to reject any connections from outside the VM i.e. from the public internet. Run this command to edit the main Postgres configuration file:
sudo nano /etc/postgresql/*/main/postgresql.conf
Find and uncomment this line (remove the leading # if present):
listen_addresses = 'localhost'
Save the file with Ctrl+o, then exit with Ctrl+x. Restart Postgres to apply the changes:
sudo systemctl restart postgresql
If you're using the ufw firewall as configured here, run this command to view open ports:
sudo ufw status
Make sure that the status is active and that port 5432 (Postgres's default port) is not listed among open ports. This provides a second layer of defense if listen_addresses is changed.
Step 5 - Connect from a Web App
A web app running on the same VM can now connect to Postgres through localhost using the credentials created earlier. Use a connection string like this in your app's configuration:
postgresql://<myapp>:<password>@localhost:5432/<myapp>
Store this in an environment variable. Never hardcode credentials in source code, since they can be accidentally committed to Git and exposed publicly. For example, use a .env file:
DATABASE_URL=postgresql://<myapp>:<password>@localhost:5432/<myapp>
Your app can then read DATABASE_URL at runtime and pass it to a Postgres client library.
Step 6 - SSH from Your Local Machine
You can use an SSH tunnel to temporarily access the database from your local machine for administration or debugging. Run this command in a new terminal on your local machine:
ssh -i ~/.ssh/<ssh-keyfile> -L 5432:localhost:5432 <user>@<vm-ip>
The -L flag forwards port 5432 on your local machine to port 5432 on the VM. Replace <ssh-keyfile> with the filename of your SSH key, and replace <user> & <vm-ip> with your SSH username and the VM's IP address. Keep this terminal open to maintain the tunnel.
In another terminal, you can now connect with psql (if you have it installed locally):
psql -h localhost -p 5432 -U myapp -d myapp
Enter the password configured earlier when prompted. From the perspective of Postgres, the connection appears to come from the VM itself, so you're allowed to access the database.
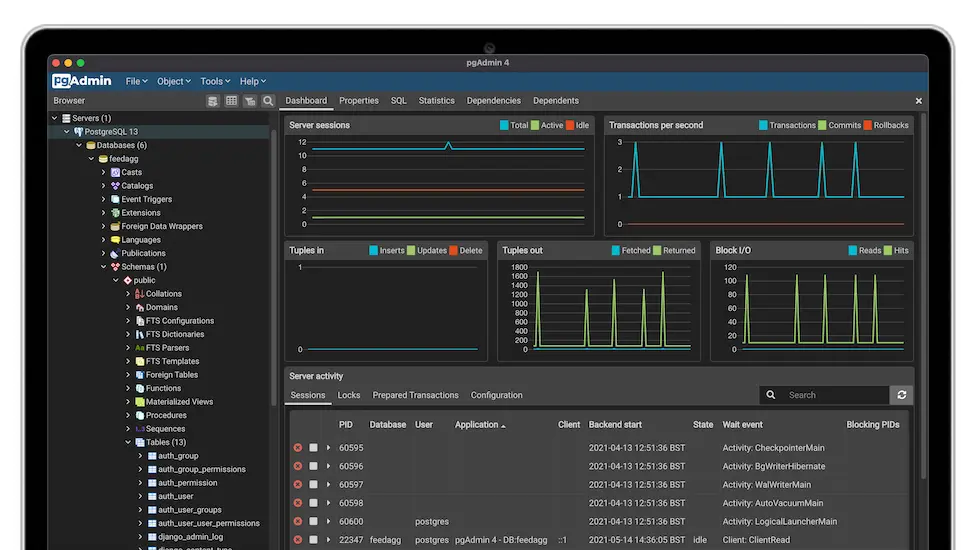
You can also use this connection string in a GUI-based client like pgAdmin or DBeaver:
postgresql://<myapp>:<password>@localhost:5432/<myapp>
Quit the terminal window running the SSH session (or press Ctrl+d) to close the tunnel.
Conclusion
We successfully set up a Postgres database on a cloud VM, with a dedicated user account and database for a web app. Our setup requires a valid username and password for every connection (including local ones) and is completely inaccessible from outside the VM.